DIY reversing camera install motorhome UK
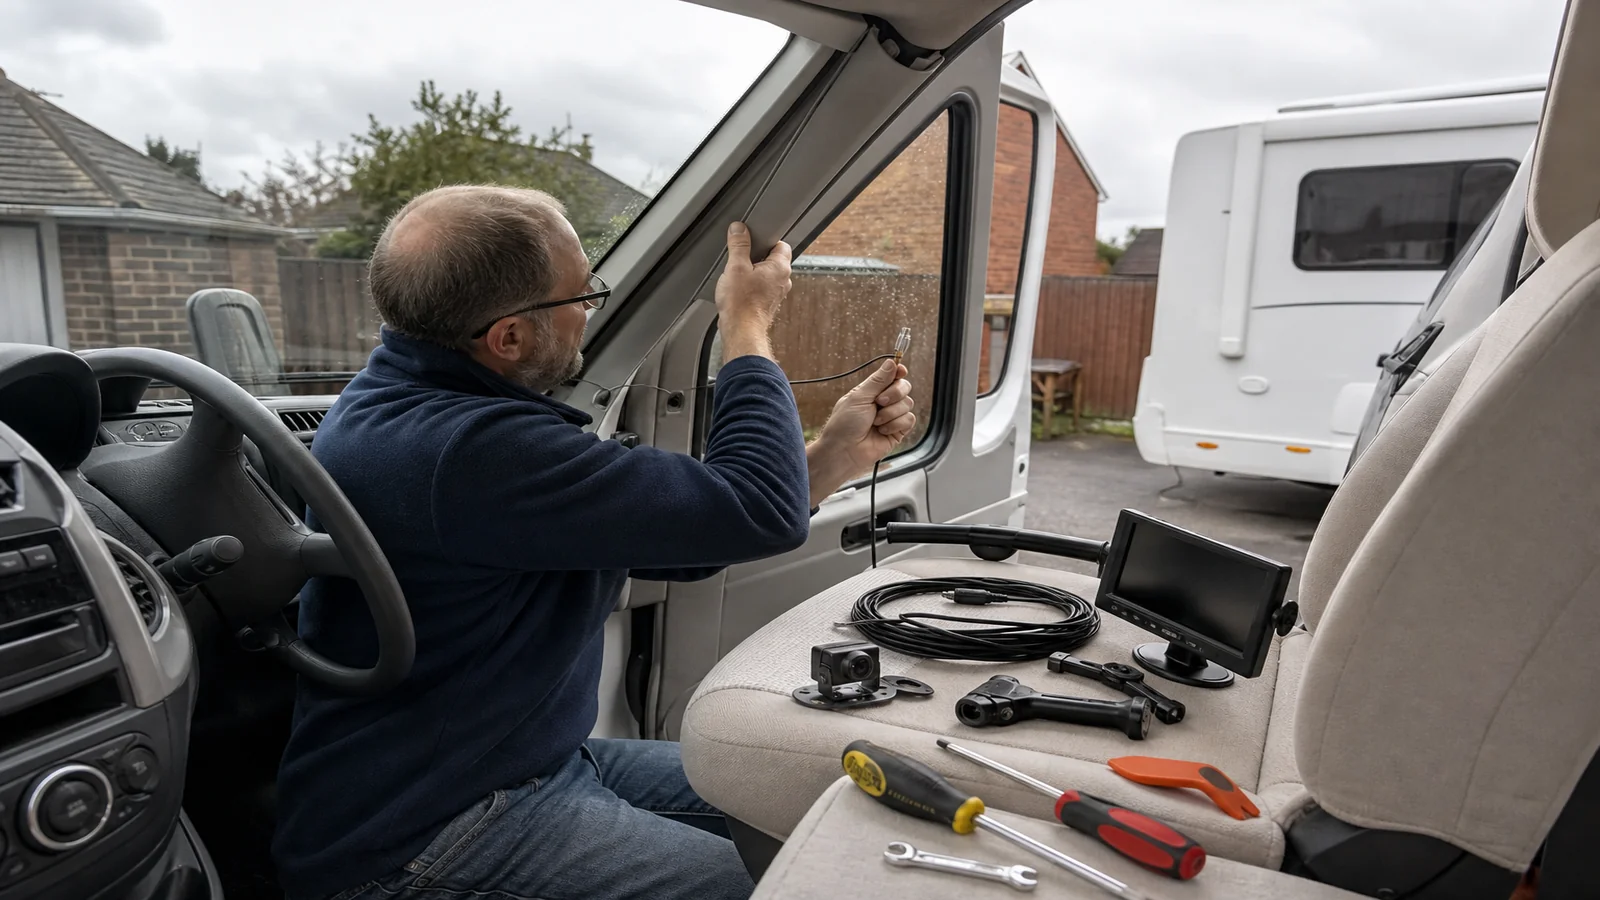
Fitting a reversing camera yourself on a UK motorhome is a realistic afternoon job if you plan cable routing, power switching and mounting points before you drill anything. You do not need a workshop lift—driveway work with basic hand tools is enough for many coach-built vans when you follow the kit instructions and fuse ratings.
Tools and preparation
Gather a trim removal set, cable ties, electrical tape, multimeter, fuse tap or relay if required, and corrosion-resistant screws for the camera bracket. Disconnect the leisure or starter battery negative terminal before touching vehicle wiring. Photograph existing mirror and bumper areas so you can return trim clips correctly.
- Read the full wiring diagram supplied with your kit.
- Identify reverse-light positive wire or an ignition-switched fuse location.
- Measure cable path length—long motorhomes often need 12–15 metres.
- Keep connectors dry until final screw-tight assembly.
Mounting the camera and mirror monitor
Mount the camera above the rear number plate or on the rear cap where the lens sees the full width behind you. Avoid pointing too far down or you lose sight of bollards at eye level. The monitor on kits such as the wired rear view camera kit with 7-inch mirror monitor clips over your existing interior mirror—check spring tension so it does not obscure forward view.
Run aviation cable from the monitor down the A-pillar or inside roof lining, then along the floor channel or under the chassis to the rear. Secure every metre so vibration does not chafe insulation. Use grommets where cable passes through metal.
Power and trigger wiring
Most kits offer two modes: power on reverse gear only, or continuous feed from an ignition-switched circuit. Reverse-trigger wiring ties into the white reverse-light positive—video appears when you select reverse. Ignition wiring gives a live rear view while driving, useful when you have no rear window, but draws power whenever the engine is on.
Ground the black wire to clean bare metal on the chassis. Use an inline fuse matched to the kit rating—typically 3–5 A on 12V systems. Test with the engine off and on before final trim refit.
Final checks before your first pitch reverse
Verify night-vision IR LEDs activate in darkness, video is sharp at the monitor edge, and no interference stripes appear near the alternator. Adjust camera angle once on level ground, then repeat on a slight camber common on campsite pitches.
Review the wired kit if DIY fits your skills
If you are ready to route cable on a long motorhome, confirm specification and included cable length on the wired rear view camera kit with 7-inch mirror monitor page before buying.
Do I need a qualified auto electrician?
Not for a straightforward 12V camera on a privately owned motorhome, provided you fuse correctly and follow the manual. Commercial or 24V fleets may have additional compliance requirements—check with your operator.
Where should I avoid running cable?
Keep away from hot exhaust sections, unprotected sharp edges and moving suspension parts. Leave service loops at connectors for future maintenance.
Can I extend the cable on a very long van?
Many aviation systems accept standard 4-pin extension leads. Confirm compatibility on your kit listing before ordering extras.